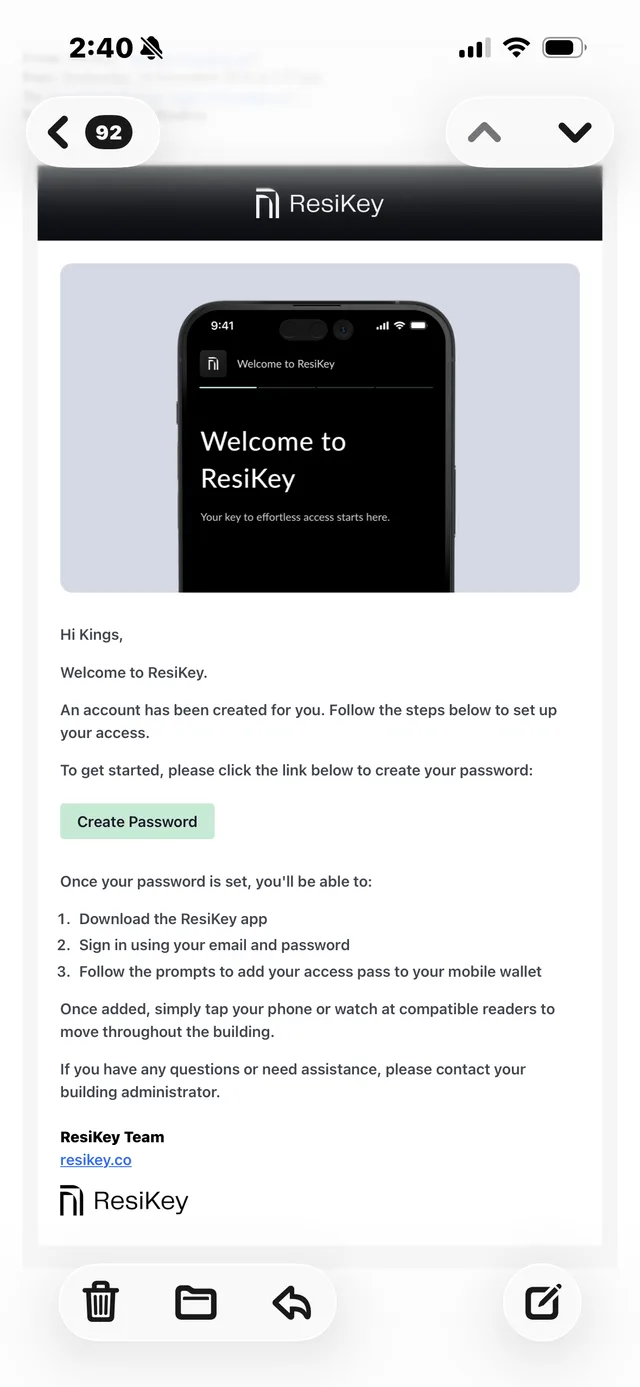
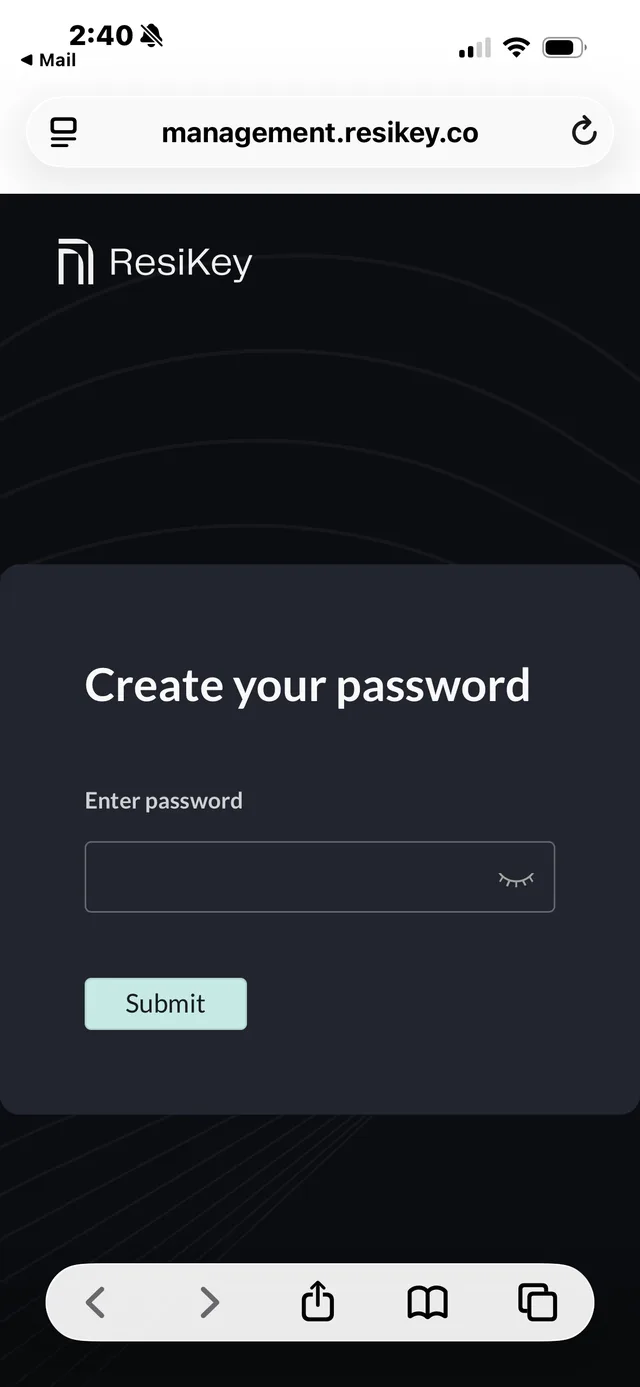
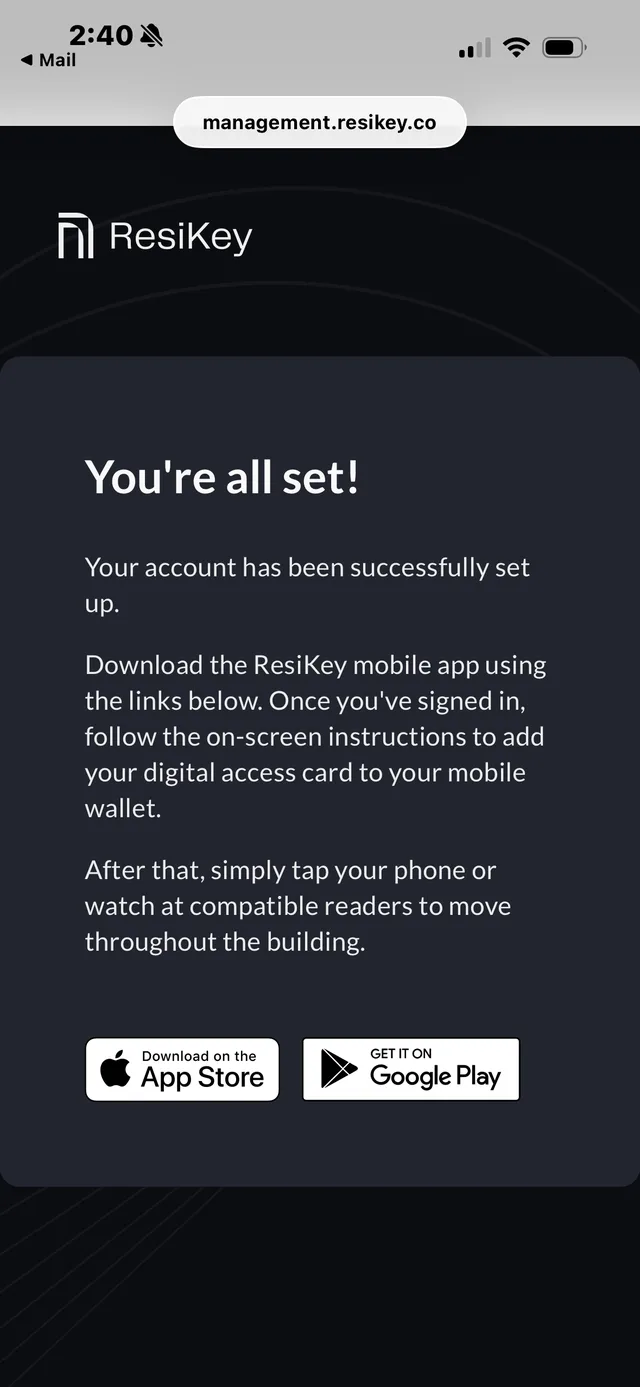
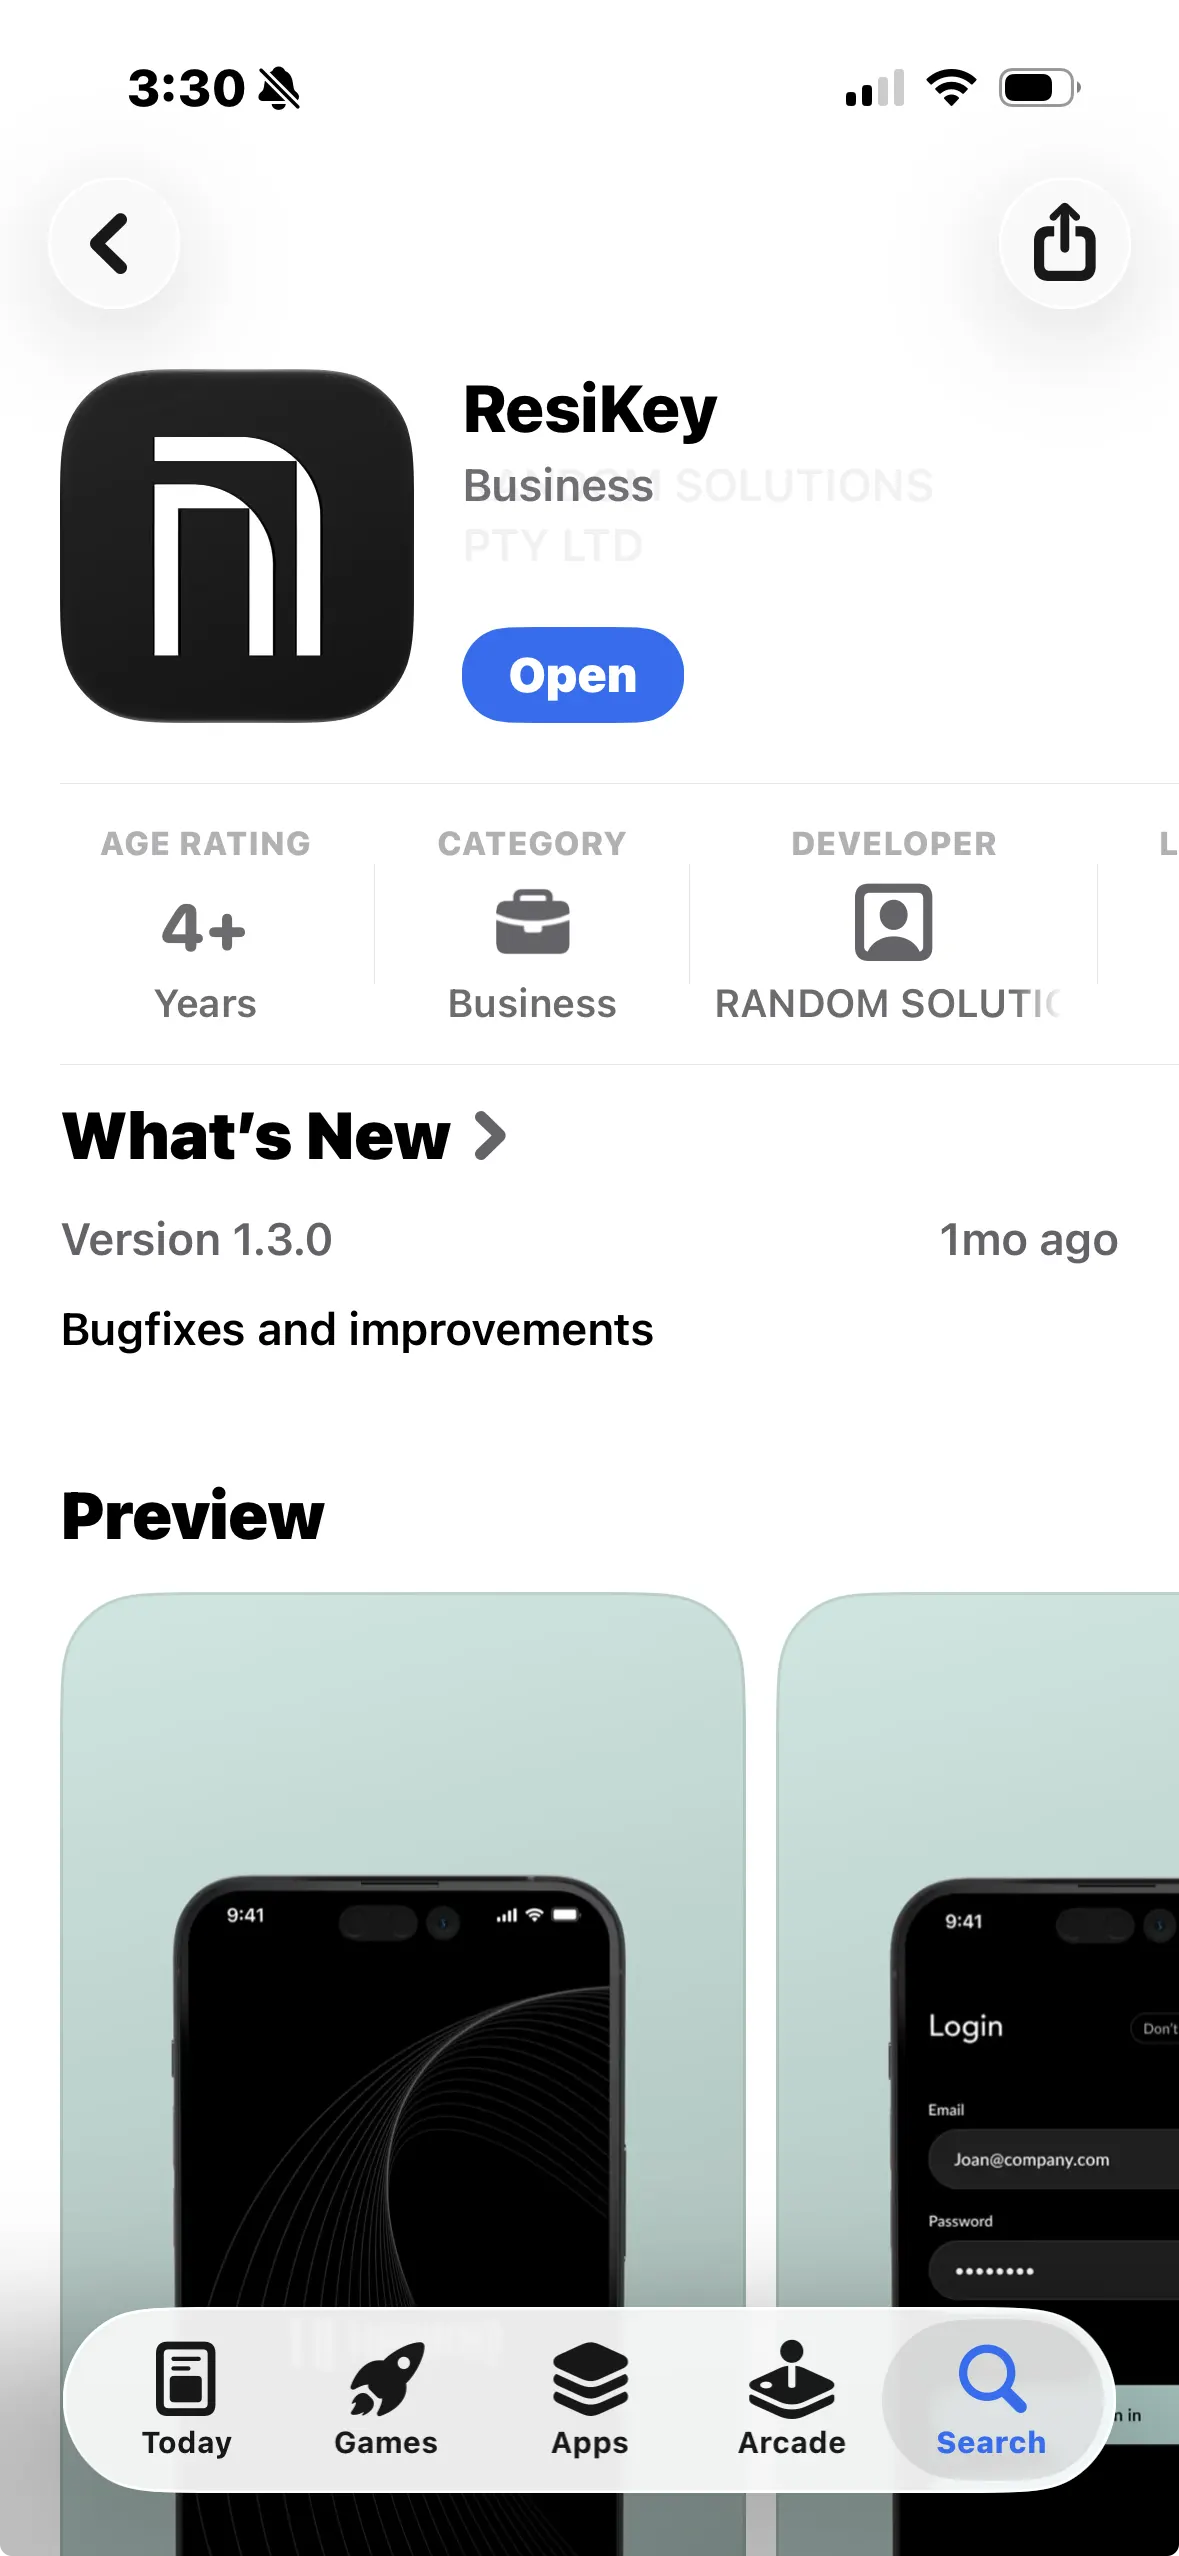
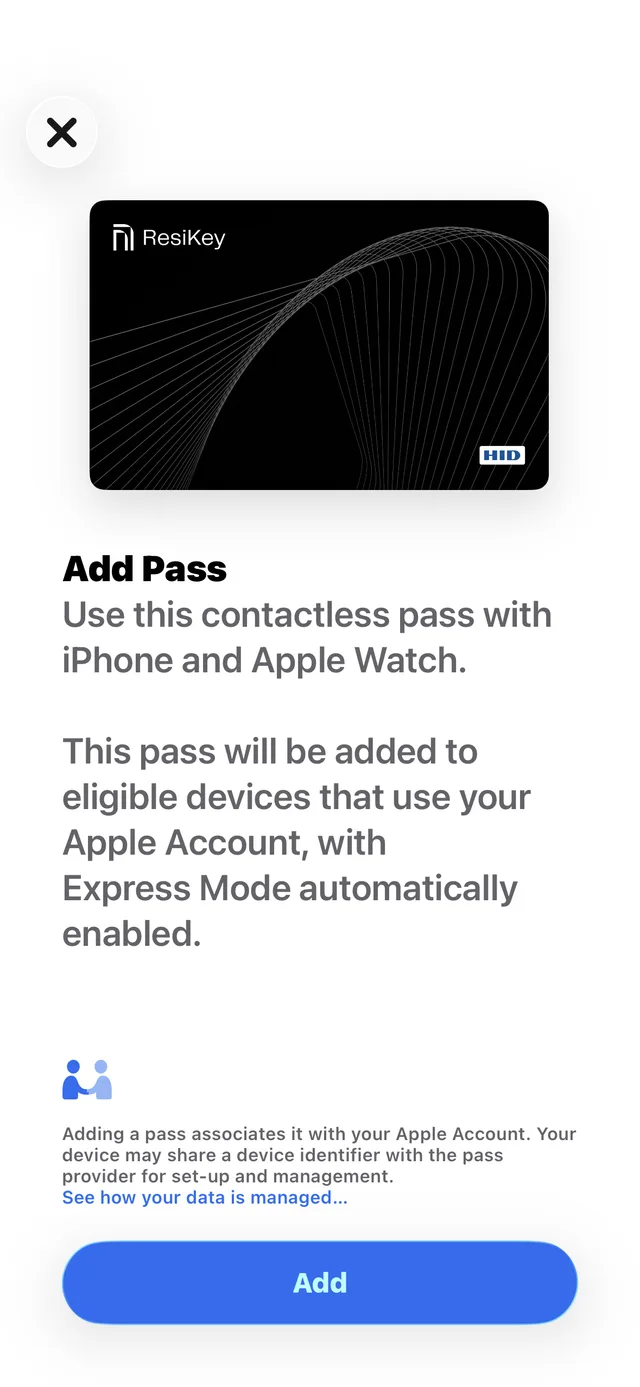
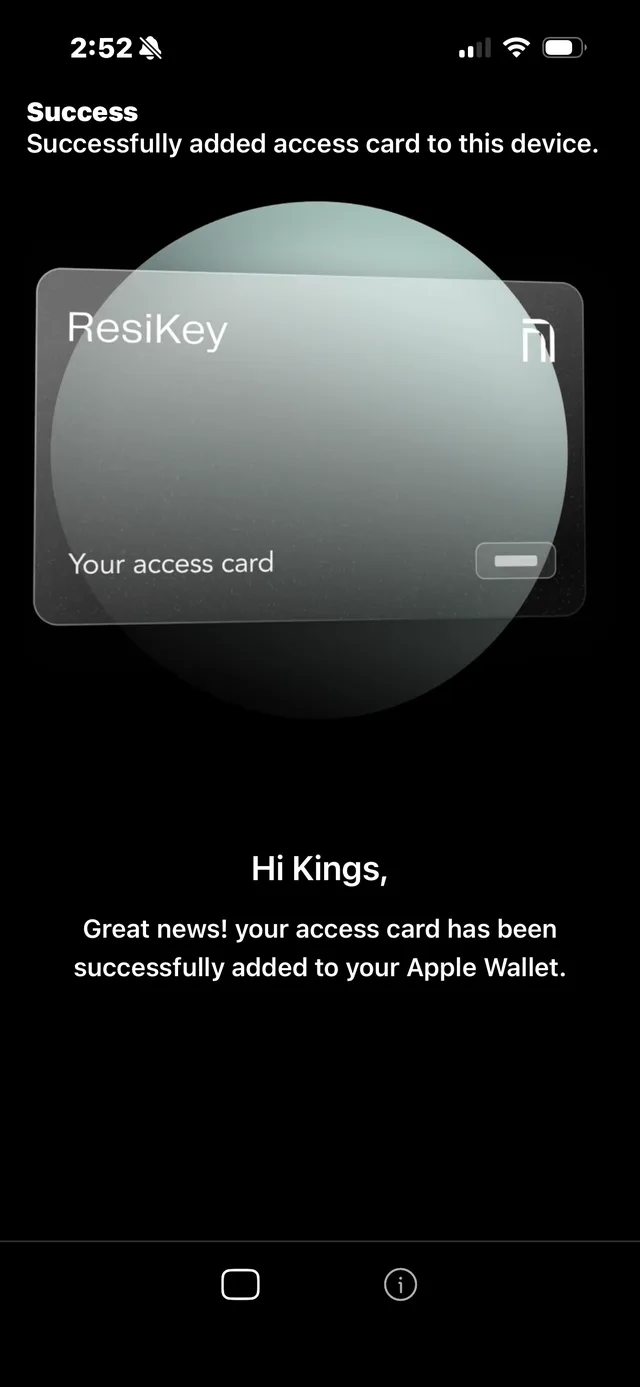
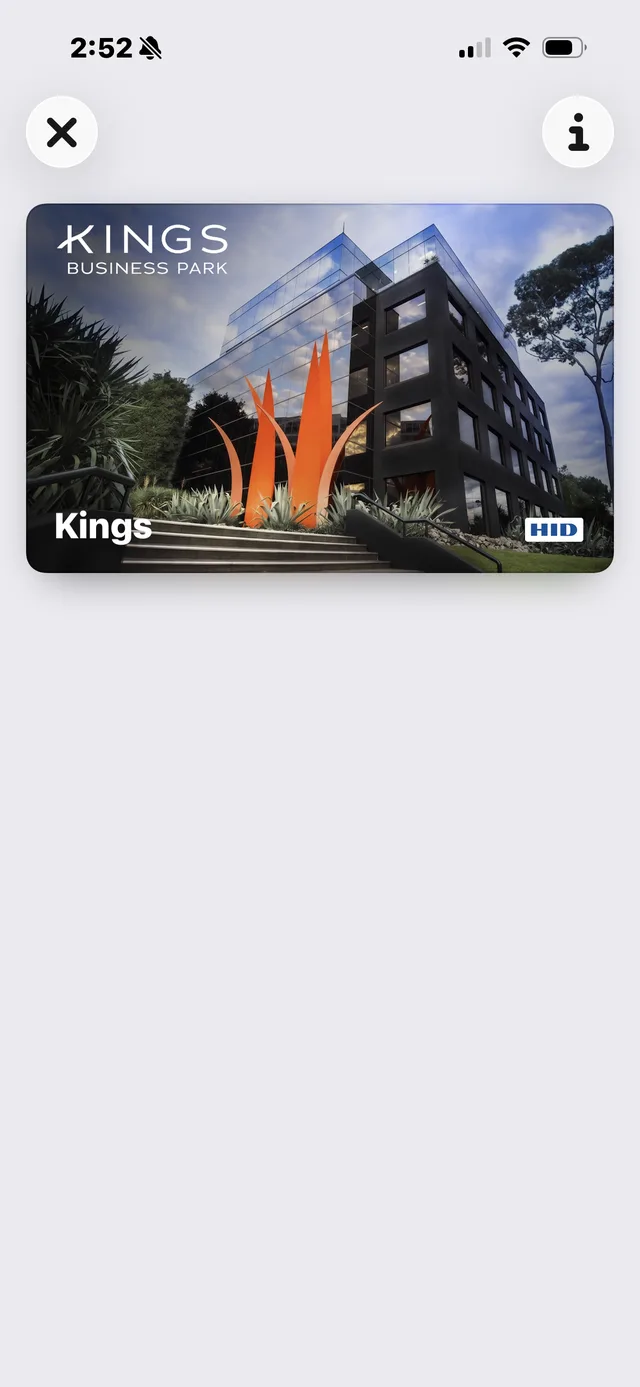
Getting set up
Does my iPhone or Apple Watch support an access pass in Apple Wallet?
To add and use your ResiKey access pass in Apple Wallet, you need:
- An iPhone 6s or later, running the latest available version of iOS
- An Apple Watch Series 3 or later, running the latest available version of watchOS (optional)
- An Apple Account signed in on your device
- Face ID, Touch ID or a device passcode turned on
- The latest version of the ResiKey app
When you add the pass to your iPhone, it's also added automatically to a compatible Apple Watch paired with that iPhone.
I haven't received my welcome email. What should I do?
Check your junk or spam folder first. If you still can't find it, contact your building administrator or office manager. They can confirm your details and arrange for the invitation to be resent.
The setup link can expire, so complete the setup promptly once you receive it.
How long until my pass works?
Once your pass has been added (provisioned), it should be active within 15 minutes.
Do I need to add the pass to my Apple Watch separately?
No. If you have a compatible Apple Watch paired with your iPhone, your pass is added to it automatically during setup. To check, open the Wallet app on your Apple Watch and look for your access pass.
How do I check which Apple Watch model I have?
On your Apple Watch:
- Open Settings.
- Select General.
- Select About.
- Look for the model name or model number.
You can also check in the Watch app on your paired iPhone by selecting General, then About.
Does it cost anything?
No. There is no cost to add or use your ResiKey access pass in Apple Wallet.
Using your pass
How do I use my access pass from my iPhone or Apple Watch?
- Use your device in the same way you would use a plastic access card.
- Hold the top of your iPhone, or the display of your Apple Watch, close to a supported reader. A tick appears on your device when access has been granted.
Do I need to unlock my iPhone to use my pass?
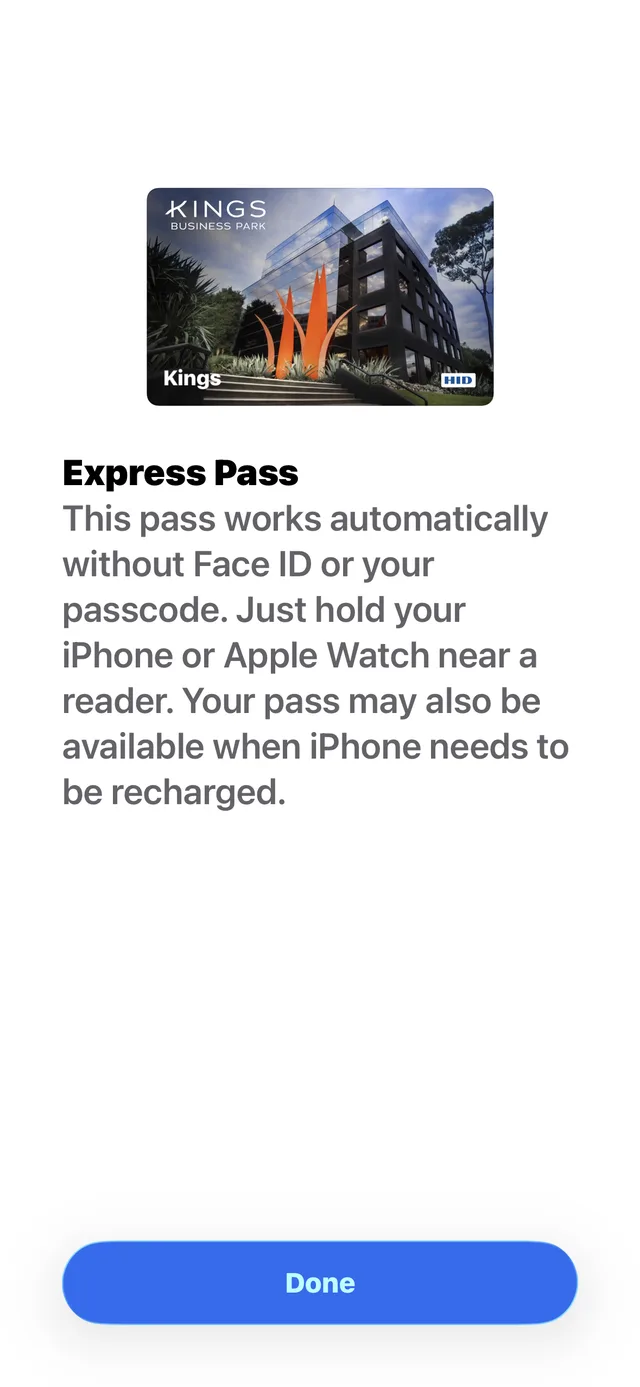
Not when Express Mode is on. Simply hold your iPhone or Apple Watch close to the reader without unlocking your device or opening Apple Wallet.
Express Mode is turned on automatically when you add your pass.
If Express Mode is turned off, you'll need to open your pass in Apple Wallet and authenticate using Face ID, Touch ID or your passcode before presenting it to the reader.
Where can I use my access pass?
You can use your pass at supported readers in the areas your building administrator has approved. Depending on your permissions, this may include building entrances and shared access points, end-of-trip facilities and the car park.
Your pass doesn't automatically give access to individual tenancy areas. That access is managed by each organisation.
Can I use my pass without a mobile or Wi-Fi connection?
Yes. Your pass is stored on your device, so you don't need a mobile signal or Wi-Fi to use it at a supported reader.
You will need a connection to sign in to the ResiKey app, add your pass and use other in-app features.
Can I still use my pass when my iPhone needs charging?
- On supported iPhone models, Power Reserve may let you keep using your pass for a limited time after your battery is too low to use your phone normally.
- Power Reserve is only available when Express Mode is on. It may not be available if you manually turn off your iPhone.
How secure is my pass in Apple Wallet?
Your pass is stored securely on your device. Apple does not receive information about the areas you access or when you access them.
Your access information stays private and is protected by the security features built into your iPhone and Apple Watch.
Changes, lost devices & help
What should I do when I get a new iPhone or Apple Watch?
- Before changing devices, remove your access pass from Apple Wallet on your old device.
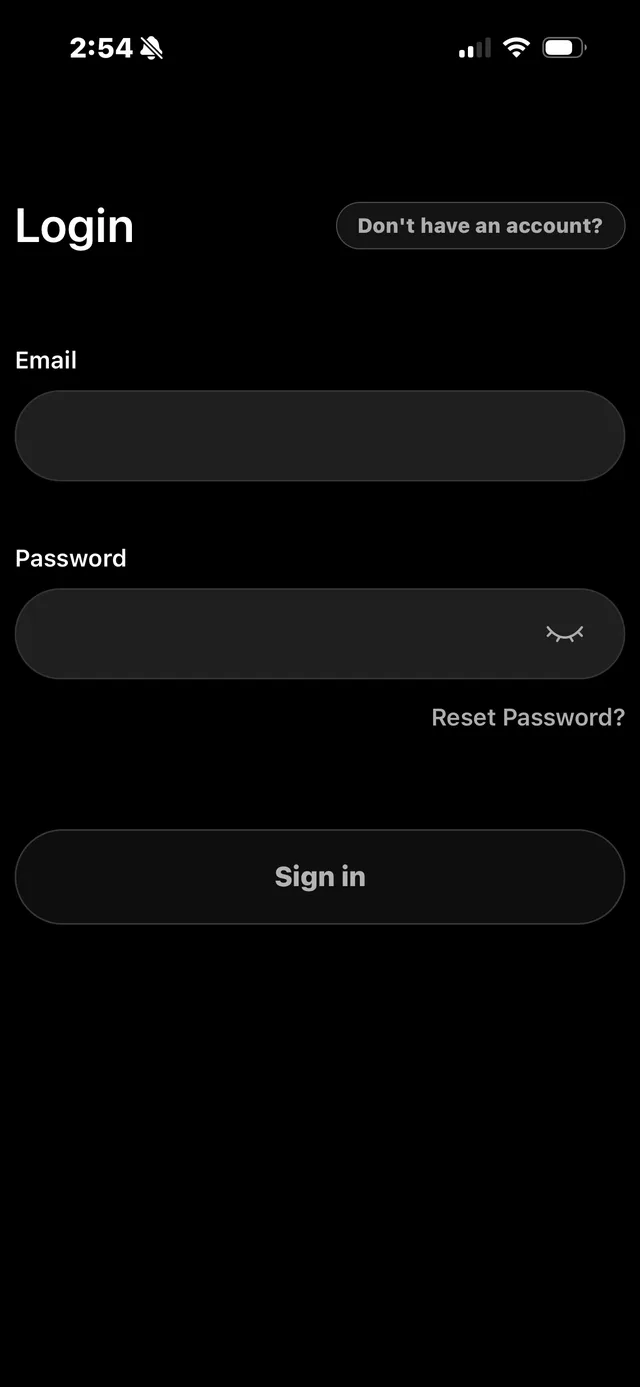
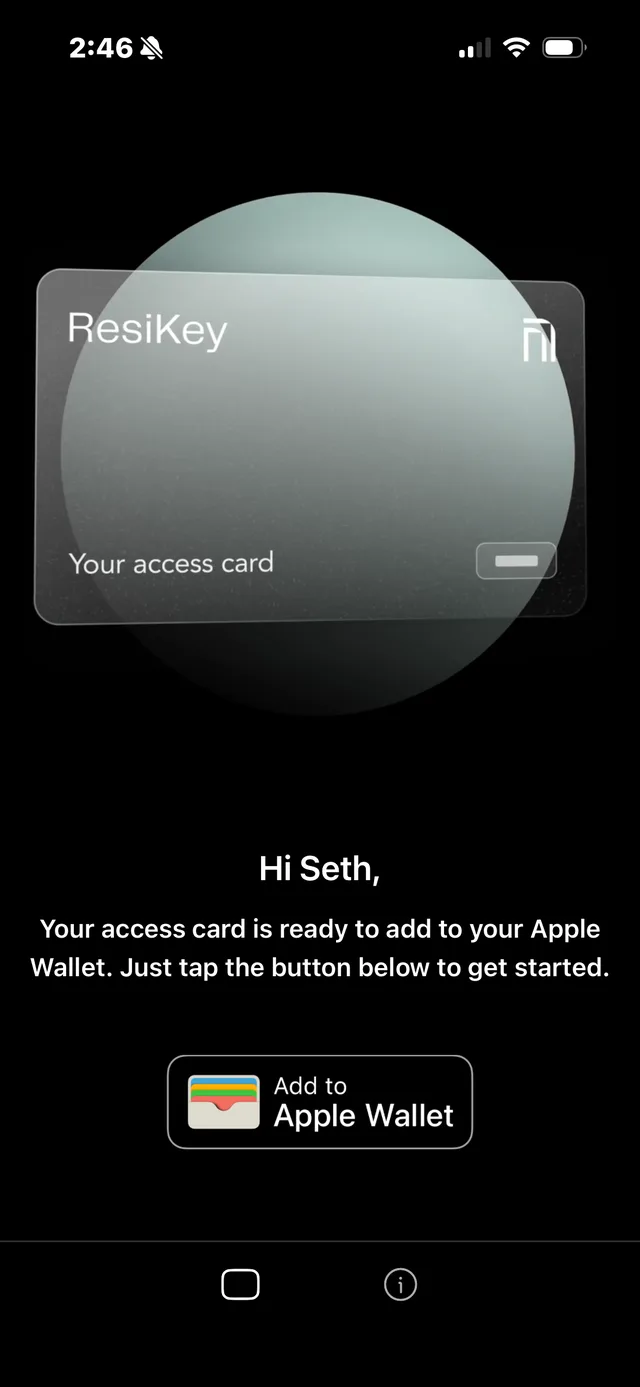
- Then sign in to the ResiKey app on your new iPhone and follow the steps to add your pass to Apple Wallet.
- When you add the pass to your new iPhone, it's also added to a compatible Apple Watch paired with it.
What should I do if my iPhone or Apple Watch is lost or stolen?
Use the Find My app or iCloud to mark the device as lost as soon as possible. This suspends Apple Wallet on that device, including your access pass.
Let your building administrator know too, so they can take any extra steps needed to secure your access.
When you recover your device and turn off Lost Mode, you may need to reactivate your pass in your device's Wallet & Apple Pay settings. For more detail, see Apple Support.
How do I remove my access pass from Apple Wallet?
On your iPhone:
- Open the Wallet app.
- Select your access pass.
- Tap the More button.
- Select Card Details (or Pass Details).
- Scroll down and select Remove Card or Remove Badge, then confirm.
The wording may vary depending on your version of iOS. Removing the pass doesn't close your ResiKey account.
I'm having trouble adding my pass. What can I try?
- Make sure your iPhone is on the latest version of iOS and the ResiKey app is up to date.
- Check you're signed in to your Apple Account and have Face ID, Touch ID or a passcode set up.
- Check you have a stable internet connection.
- Close and reopen the ResiKey app, or restart your iPhone, then try again.
If it still doesn't work, speak with your building administrator or office manager to confirm your account and access permissions are set up correctly.
What should I do if my question isn't answered here?
For building access issues, first speak with your building administrator or office manager to confirm you have the right access permissions. They can escalate the issue to the building management team if needed.
When asking for help, it's useful to include your name, your email address, the device you're using, a short description of the issue and any error message you see. Never share your password or verification codes.
No questions match your search. Try a different word, or contact your building administrator.